Introduction
Experiencing issues with your computer not registering an external microphone can be frustrating, especially when you need it for critical tasks like online meetings, gaming, or recording. Fortunately, resolving this problem can often be achieved through a series of logical steps that involve checking physical connections, adjusting computer settings, and ensuring that your software is up to date. This guide will walk you through comprehensive troubleshooting steps to help you identify and fix the issue.
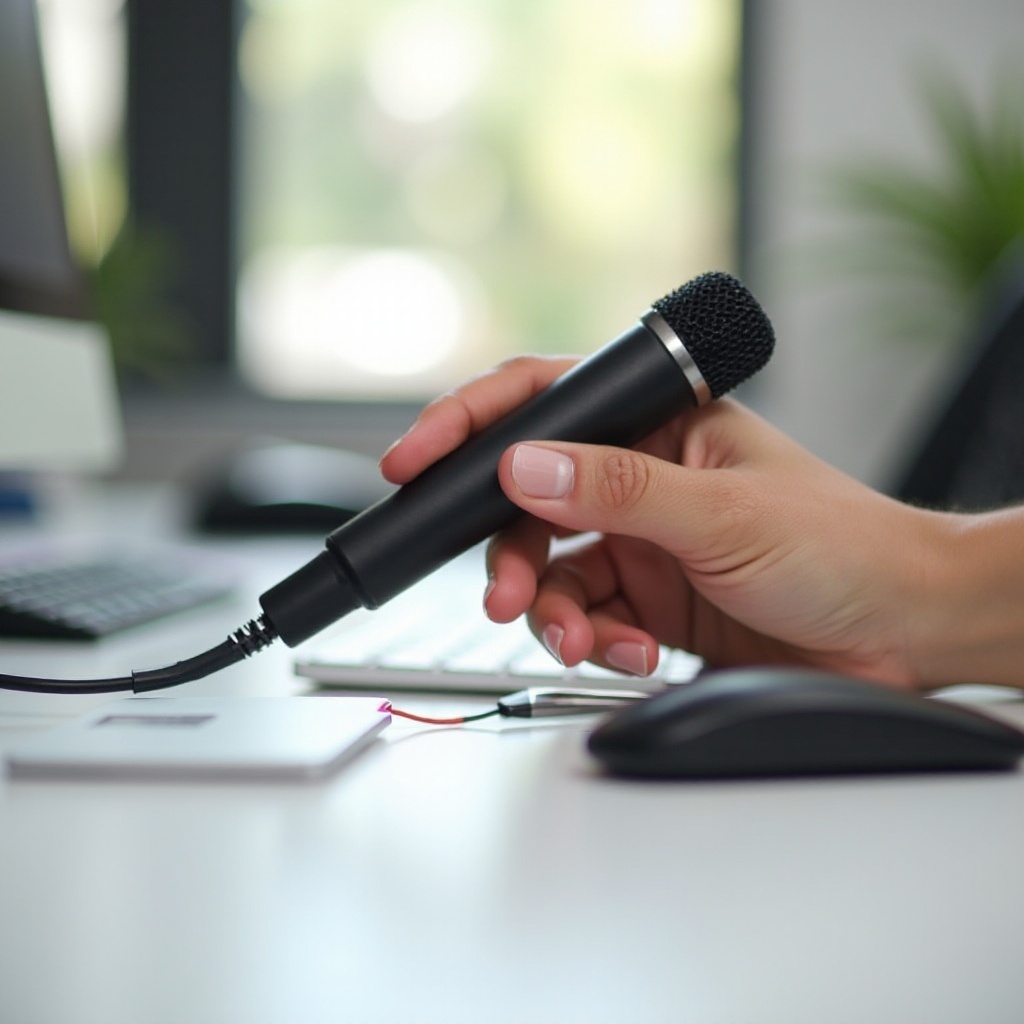
Verify Basic Physical Connections
Before delving into more complex fixes, start by ensuring that your microphone is properly connected. Here are a few steps to verify basic physical connections:
- Check Cable Connections: Make sure your microphone's cable is securely plugged into the appropriate port on your computer. For USB microphones, use a different USB port if available.
- Inspect for Damage: Examine the microphone cable for any visible signs of wear or damage that might affect its functionality.
- Test Power Supply: If your microphone requires its own power supply, make sure it is turned on and functioning correctly.
Verifying these physical connections may save you time and effort by ruling out simple connection issues.
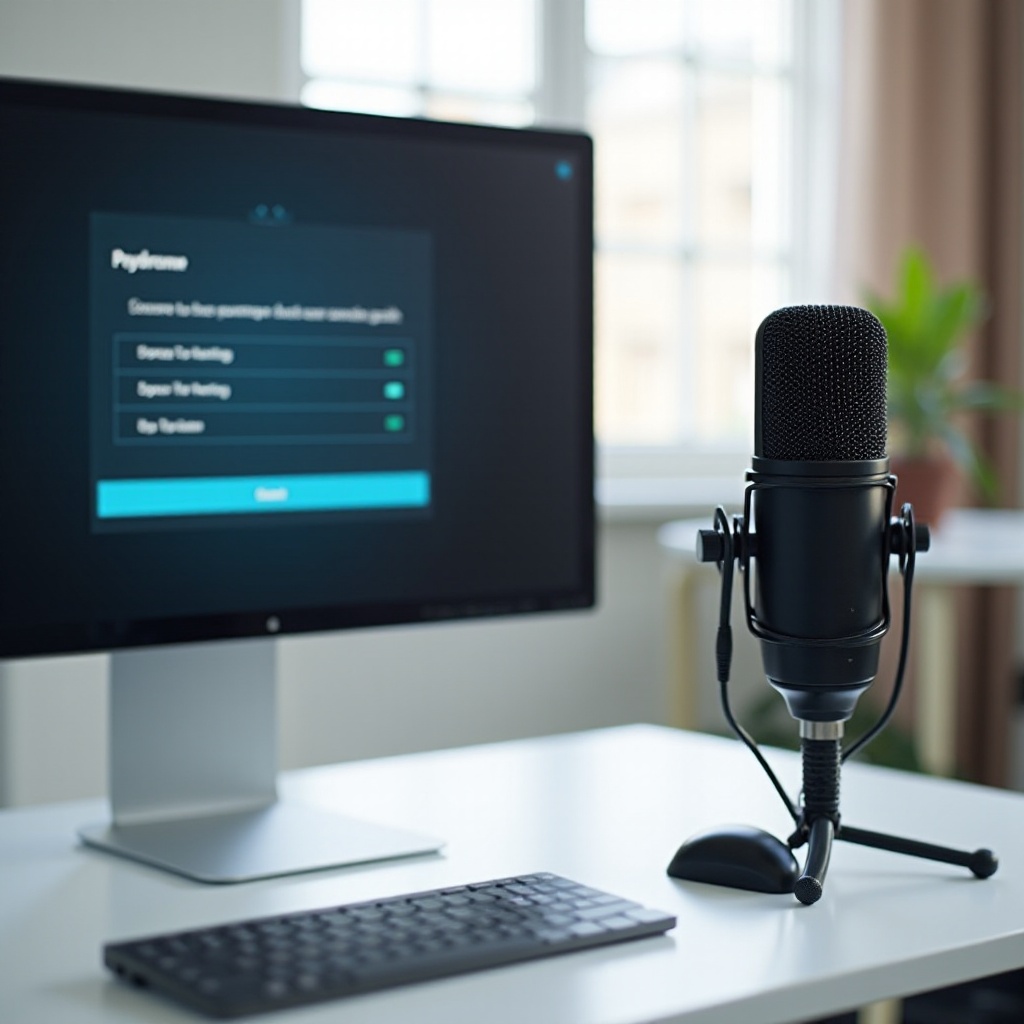
Check Computer Sound Settings
After verifying physical connections, the next step is to check your computer's sound settings to ensure the microphones are correctly configured.
Windows OS Sound Settings
- Open Settings: Navigate to Start > Settings > System > Sound.
- Choose Input Device: Under the 'Input' section, select your external microphone from the dropdown menu.
- Test Your Microphone: Speak into your microphone and check if the sound level meter is moving. If it isn’t, click on 'Troubleshoot' and follow the on-screen prompts.
Mac OS Sound Settings
- Open System Preferences: Click on the Apple menu and go to System Preferences > Sound.
- Select Input Device: In the 'Input' tab, select your external microphone.
- Adjust Input Volume: Make sure the input volume is at an appropriate level and check the input level meters as you speak.
Ensuring your sound settings are correct can often resolve issues with your computer not registering the external microphone.
Update or Reinstall Audio Drivers
If checking the settings didn't make a difference, updating or reinstalling audio drivers can often resolve issues related to unregistered external microphones.
Identifying Your Audio Device
- Open Device Manager: Right-click on the Start menu and select 'Device Manager.
- Locate Audio Inputs and Outputs: Expand the 'Audio inputs and outputs' section to find your microphone.
- Note the Device Name: Make a note of the audio device name and model number.
Updating Drivers via Device Manager
- Right-Click on the Microphone: Choose 'Update driver.
- Search Automatically for Drivers: Let Windows search and install any available updates.
- Restart Your Computer: Restarting can help apply the changes correctly.
Installing Drivers from Manufacturer’s Website
- Visit Manufacturer’s Website: Go to the microphone or PC manufacturer’s website.
- Download Latest Drivers: Download the latest driver specific to your device model.
- Install and Restart: Follow the installation instructions and restart your computer.
Updating or reinstalling drivers can resolve underlying software issues that prevent your computer from recognizing your external microphone.
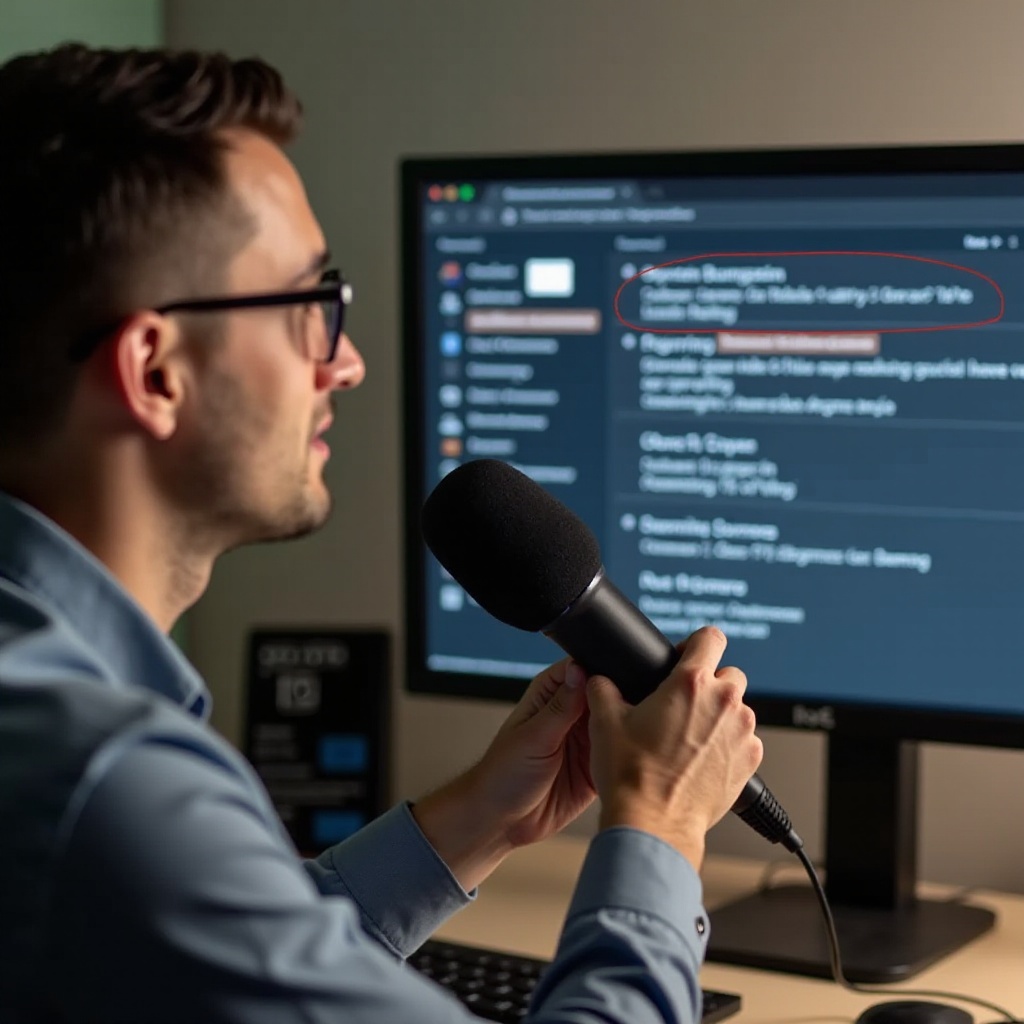
Application-Specific Configurations
Sometimes, applications have their own settings that can influence whether an external microphone is recognized.
Microphone Issues in Communication Apps
Applications like Zoom, Skype, or Teams often have their own audio settings.
- Open App Settings: Navigate to the audio settings within the application.
- Select Microphone: Choose your external microphone as the preferred input device.
- Test Audio Settings: Use the test feature within the app to ensure the microphone is working.
Adjusting Permissions and Settings
- Check App Permissions: Ensure the app has permission to use the microphone. This can often be adjusted in your computer’s privacy settings.
- Access and Change Permissions: For Windows, go to Settings > Privacy > Microphone; for macOS, navigate to System Preferences > Security & Privacy > Privacy tab, and select Microphone.
Both checking the app-specific settings and modifying permissions can resolve conflicts and allow your microphone to be recognized.
Test the Microphone on Another Device
To determine if the problem lies with your microphone or computer, testing the microphone on another device can be helpful.
- Connect to Another Device: Plug the microphone into another computer, laptop, or even a smartphone.
- Test the Microphone: Check if the microphone is recognized and functions properly.
- Analyze Results: If the microphone works on another device, the issue likely lies with your computer settings or hardware.
Testing the microphone on a second device helps isolate the issue, facilitating targeted troubleshooting steps.
Advanced Troubleshooting Steps
If the above steps haven't resolved the issue, you may need to delve into more advanced troubleshooting techniques.
BIOS/UEFI Settings Check
- Restart Your Computer: Enter the BIOS/UEFI settings during startup (usually by pressing a specific key like F2, F10, or Delete).
- Check Audio Settings: Ensure that onboard audio is enabled.
- Save and Exit: Save the settings and exit BIOS/UEFI.
System Restore and Reset Options
- Perform a System Restore: Restore your computer to a point when the microphone was working (Windows: Control Panel > System and Security > System > System Protection > System Restore).
- Reset Your Computer: If all else fails, performing a reset can revert your computer to its original settings (Windows: Settings > Update & Security > Recovery > Reset this PC).
Advanced troubleshooting can resolve deeper system-level issues that might be preventing the microphone from being recognized.
When to Seek Professional Help
If you've exhausted all the steps and still can't get your computer to recognize the external microphone, it might be time to seek professional help. Take your computer and microphone to a certified technician or a service center. They can conduct a thorough analysis and potentially identify hardware failures or more complex software conflicts that you may not be able to address on your own.
Conclusion
Ensuring your computer registers an external microphone involves various checks and configurations, from basic connections to advanced troubleshooting. Start with simple steps like checking your cable connections and sound settings, then proceed to updating drivers and testing the microphone on another device. If necessary, undertake advanced troubleshooting or seek professional help. By following these steps, you can effectively resolve microphone recognition issues and achieve a seamless audio experience.
Frequently Asked Questions
Why is my computer not recognizing my USB microphone?
This issue can arise due to various reasons, including incorrect settings, driver issues, or hardware problems. Start by checking the physical connections, then move on to updating drivers and adjusting sound settings.
How do I test if my external microphone is working?
You can test your external microphone through the sound settings on your computer or within specific applications like Zoom or Skype. You can also connect it to another device to see if it works there.
Can outdated drivers cause microphone issues?
Yes, outdated or corrupted drivers can prevent your computer from recognizing and using an external microphone effectively. Updating or reinstalling audio drivers can resolve this issue.